Polishing Restorations: A Simple Chairside Finishing Workflow
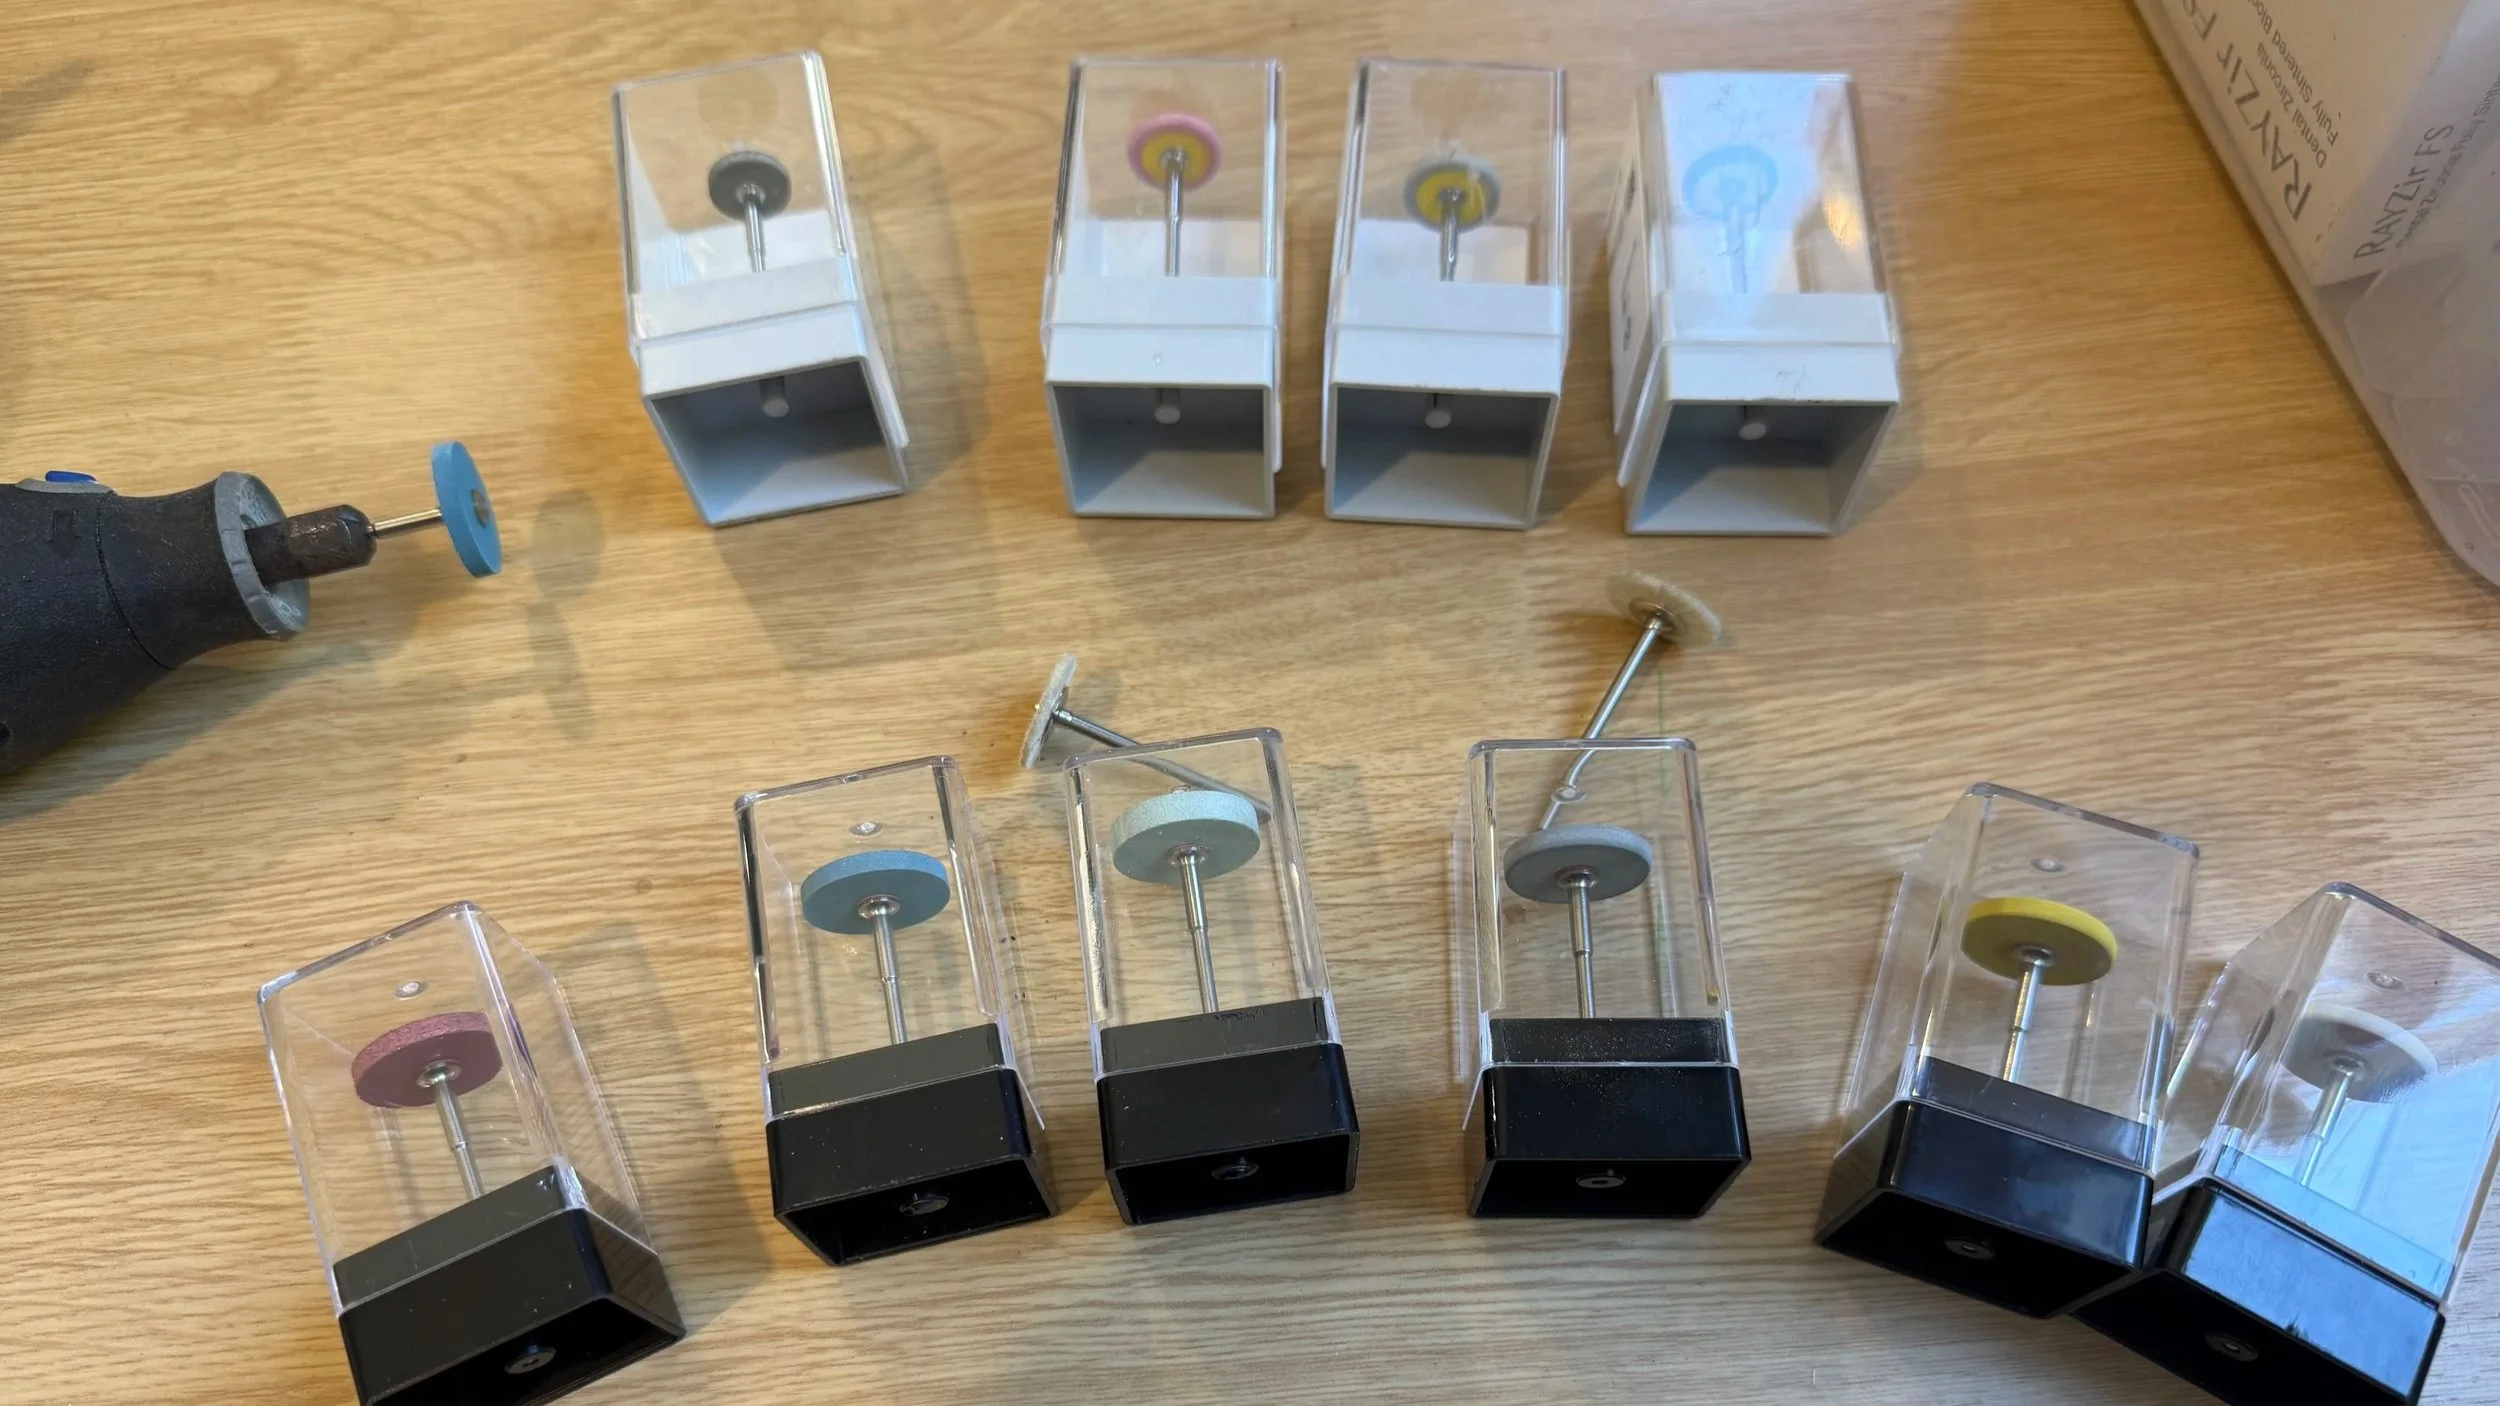
A range of polishers and Dremmel for demo purposes.
By Matt @ 5x Dental – practical CAD/CAM insights
Polishing restorations chairside doesn’t need to be complicated. With the right materials and tools, it can be a fast, predictable, and cost-effective way to deliver high-quality outcomes for your patients.
Once you’ve milled a crown, inlay, or onlay, you have a number of finishing options available, depending on the material you’ve selected.
Broadly, there are two primary approaches:
Stain and glaze, using a furnace and stain/glaze kits – generally what you’d expect from a traditional lab-finished crown.
Polishing, using a handpiece and a range of polishing wheels.
(A third for Hybrid materials composite-based stains fixed via a UV lamp, much like nail salon UV solutions, but for the purposes of this article, we will leave this option for another day)
Both approaches have their merits. In this article, I want to focus on polishing restorations chairside, as it’s the obvious first choice when integrating a milling solution. It helps reduce time, cost, and overall workflow complexity.
Yes, it does mean you’re initially excluding materials like e.max from your first install. That said, GC LiSi is a near match for many clinical scenarios, meeting a large part of those needs, and being a pre-fired disilicate makes it very well suited to polishing workflows.
And when we think about natural enamel and dentine, I can’t remember my own teeth ever going through a firing process with glaze applied during their creation. They grew, functioned, and were naturally polished over time.
Tools and considerations for polishing chairside restorations
Chairside polishing tools, CAD/CAM finishing tools
So what do we actually need?
At its simplest:
A lab-based handpiece
A straight handpiece
Or even a Dremel (yes, it will work)
If you do go down the Dremel route, just be mindful of the standard chuck size. You may need an additional kit to accommodate the shank of the polishers.
Polishers themselves are readily available in a wide range of shapes and grits. It really is just a matter of working from coarse → fine → extra fine.
There are plenty of manufacturers in this space, from well-established German companies to newer entrants.
I revisited all of this recently while using polishing as my go-to method during demos, with a view to progressing into stain and glaze later. I started out with a very well-known, widely used polishing system… and almost had to remortgage the house to acquire it. The cost alone made me pretty conservative about burning through them during demos.
Out of necessity (and curiosity), I went looking for alternatives and found options at a fraction of the cost, with outcomes that appear just as good.
Polisher shapes, technique, and practical chairside tips
Dental polishing technique, polishing CAD/CAM restorations
I’ve found that a football-shaped polisher is excellent for getting into tight fissure spaces. For general surfaces – proximals, cusps, and broader anatomy – a flat disc works extremely well.
A few things worth keeping in mind:
Always work with the disc spinning towards the margin. If it catches, you’ll be scrambling under the dental chair trying to find the restoration after it’s been launched from your fingers.
Speaking of fingers – try not to brace polishers directly against them. You may experience mild heat buildup or irritation.
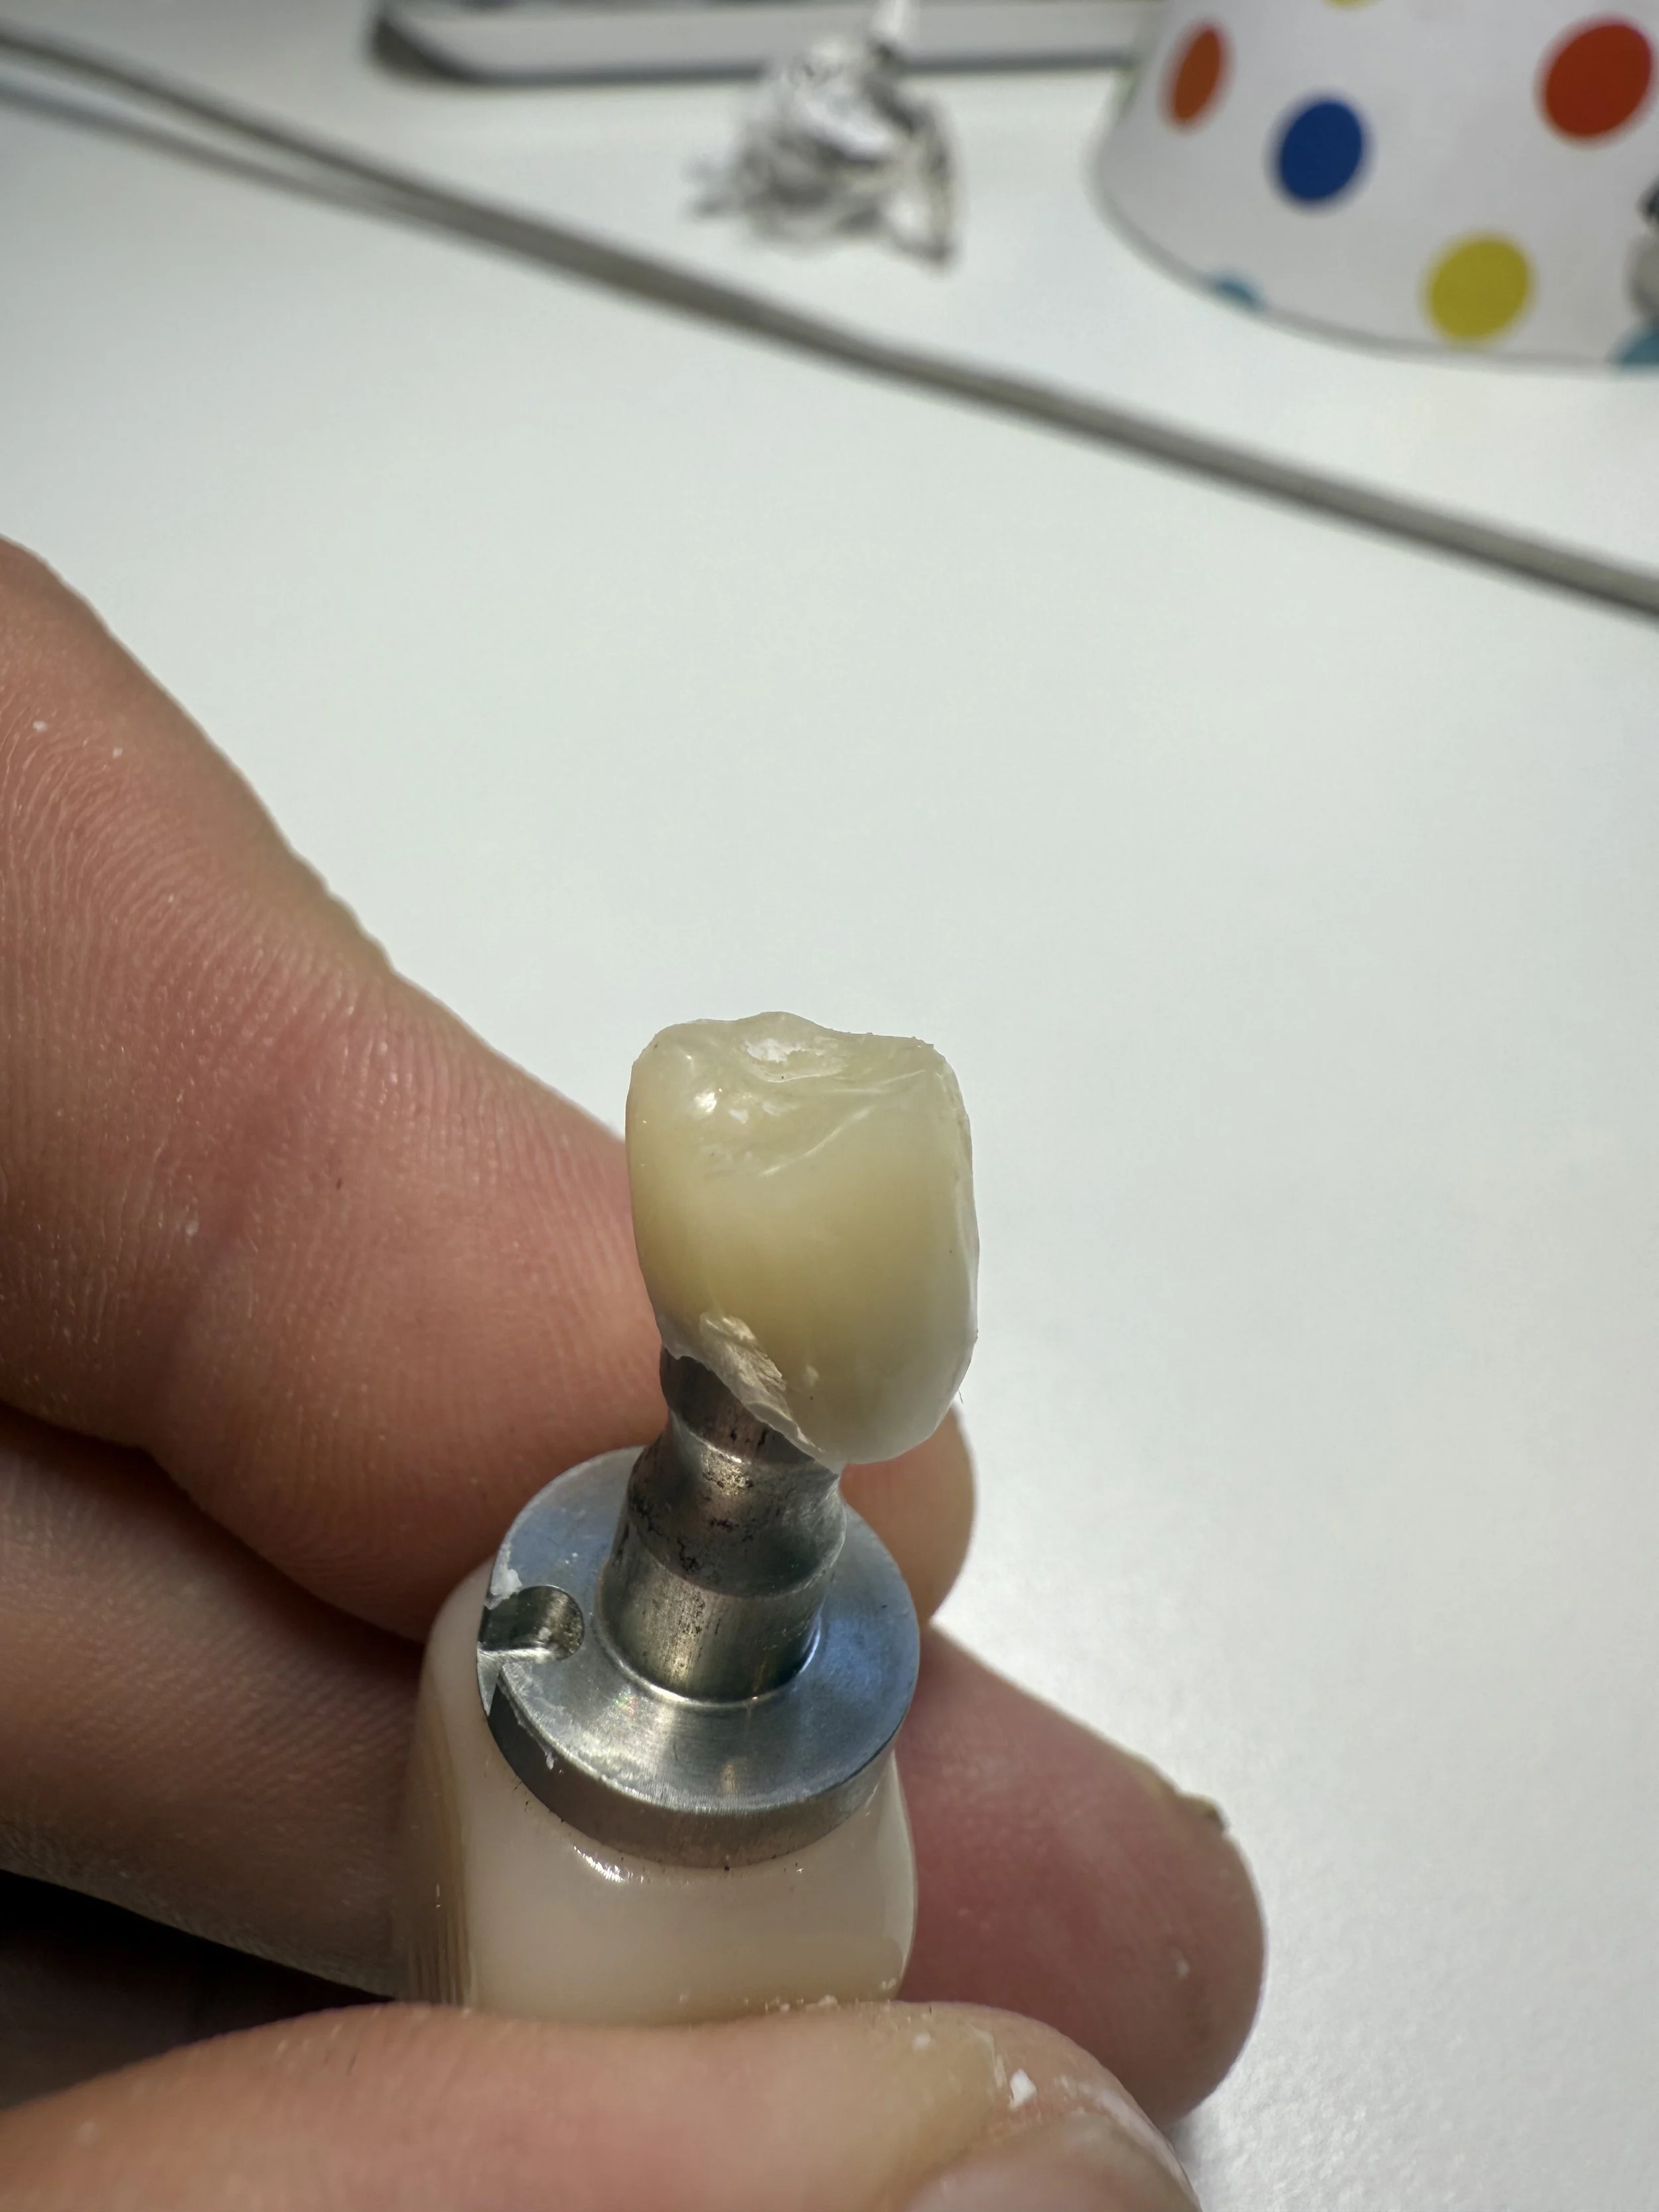
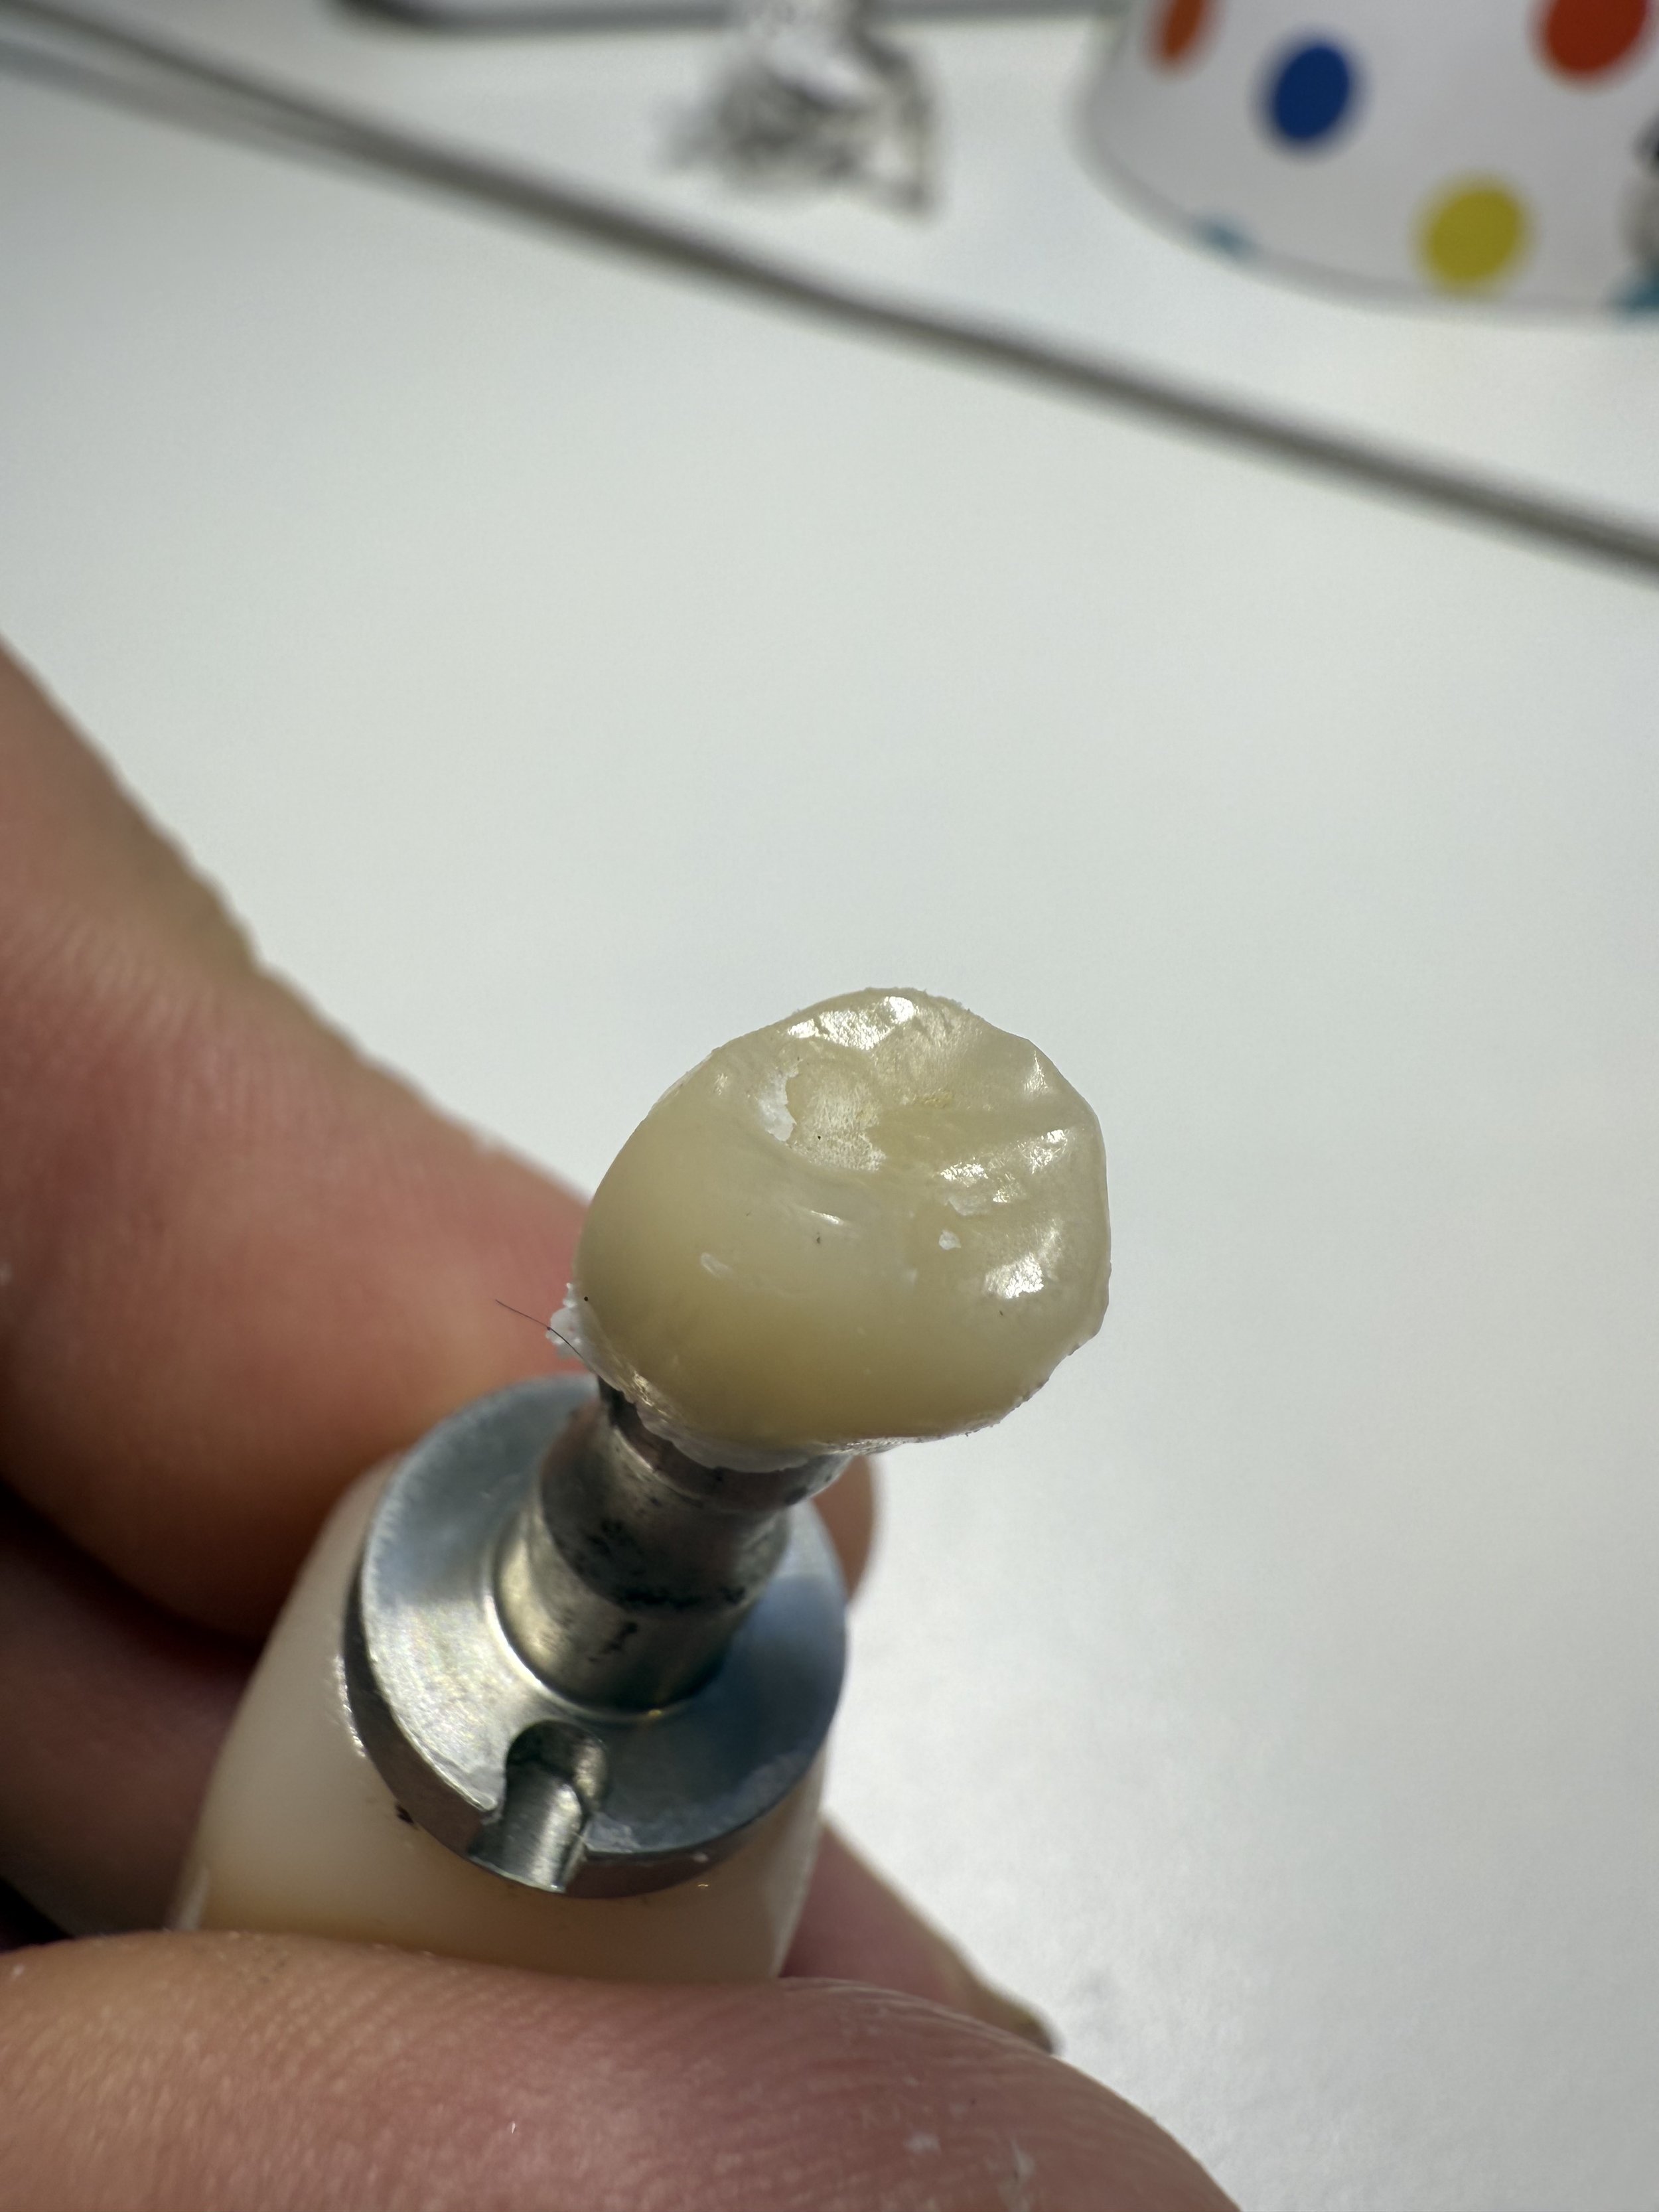
Results and clinical application
I’ve included photos of some of the polishers I’ve used and others I plan to use moving forward.
Image: Selection of chairside polishing wheels and shapes currently in use and planned for future workflows.
Outcomes are material-dependent, but most restorations achieve an excellent, high shine, which is further enhanced when wet.
Polishing is particularly well-suited to posterior restorations, especially when working with multilayer blocks. Many patients simply aren’t interested in stained teeth.
That said, polishing can also be an excellent solution for anterior cases, in the right scenarios.
Current setup and next steps
I’ve also included images of my current setup.
Image: Chairside polishing setup showing handpiece, polishers, and workflow positioning. Over time, I’ll be adding polishing paste and additional football-shaped polishers as I continue to refine the workflow.
As with most things chairside, polishing is simple, efficient, and highly effective when done thoughtfully – and it fits naturally into a streamlined CAD/CAM workflow.

About 5x Dental
At 5x Dental, we focus on practical, real-world chairside CAD/CAM solutions that reduce complexity without compromising clinical outcomes. From milling and design workflows through to finishing and polishing, our goal is to help clinics integrate technology with confidence.
If you’re exploring chairside milling or refining your existing workflow, we’re always happy to share what’s working in the real world.